
To collect additional data on top of our events, you can use metadata. With this feature you can specify specific parameters to be included with your datapoints (events or page views).
Let's consider an example where you have a pricing page that displays monthly and yearly billing plans: Starter, Business, and Enterprise. Like ours in the image below.
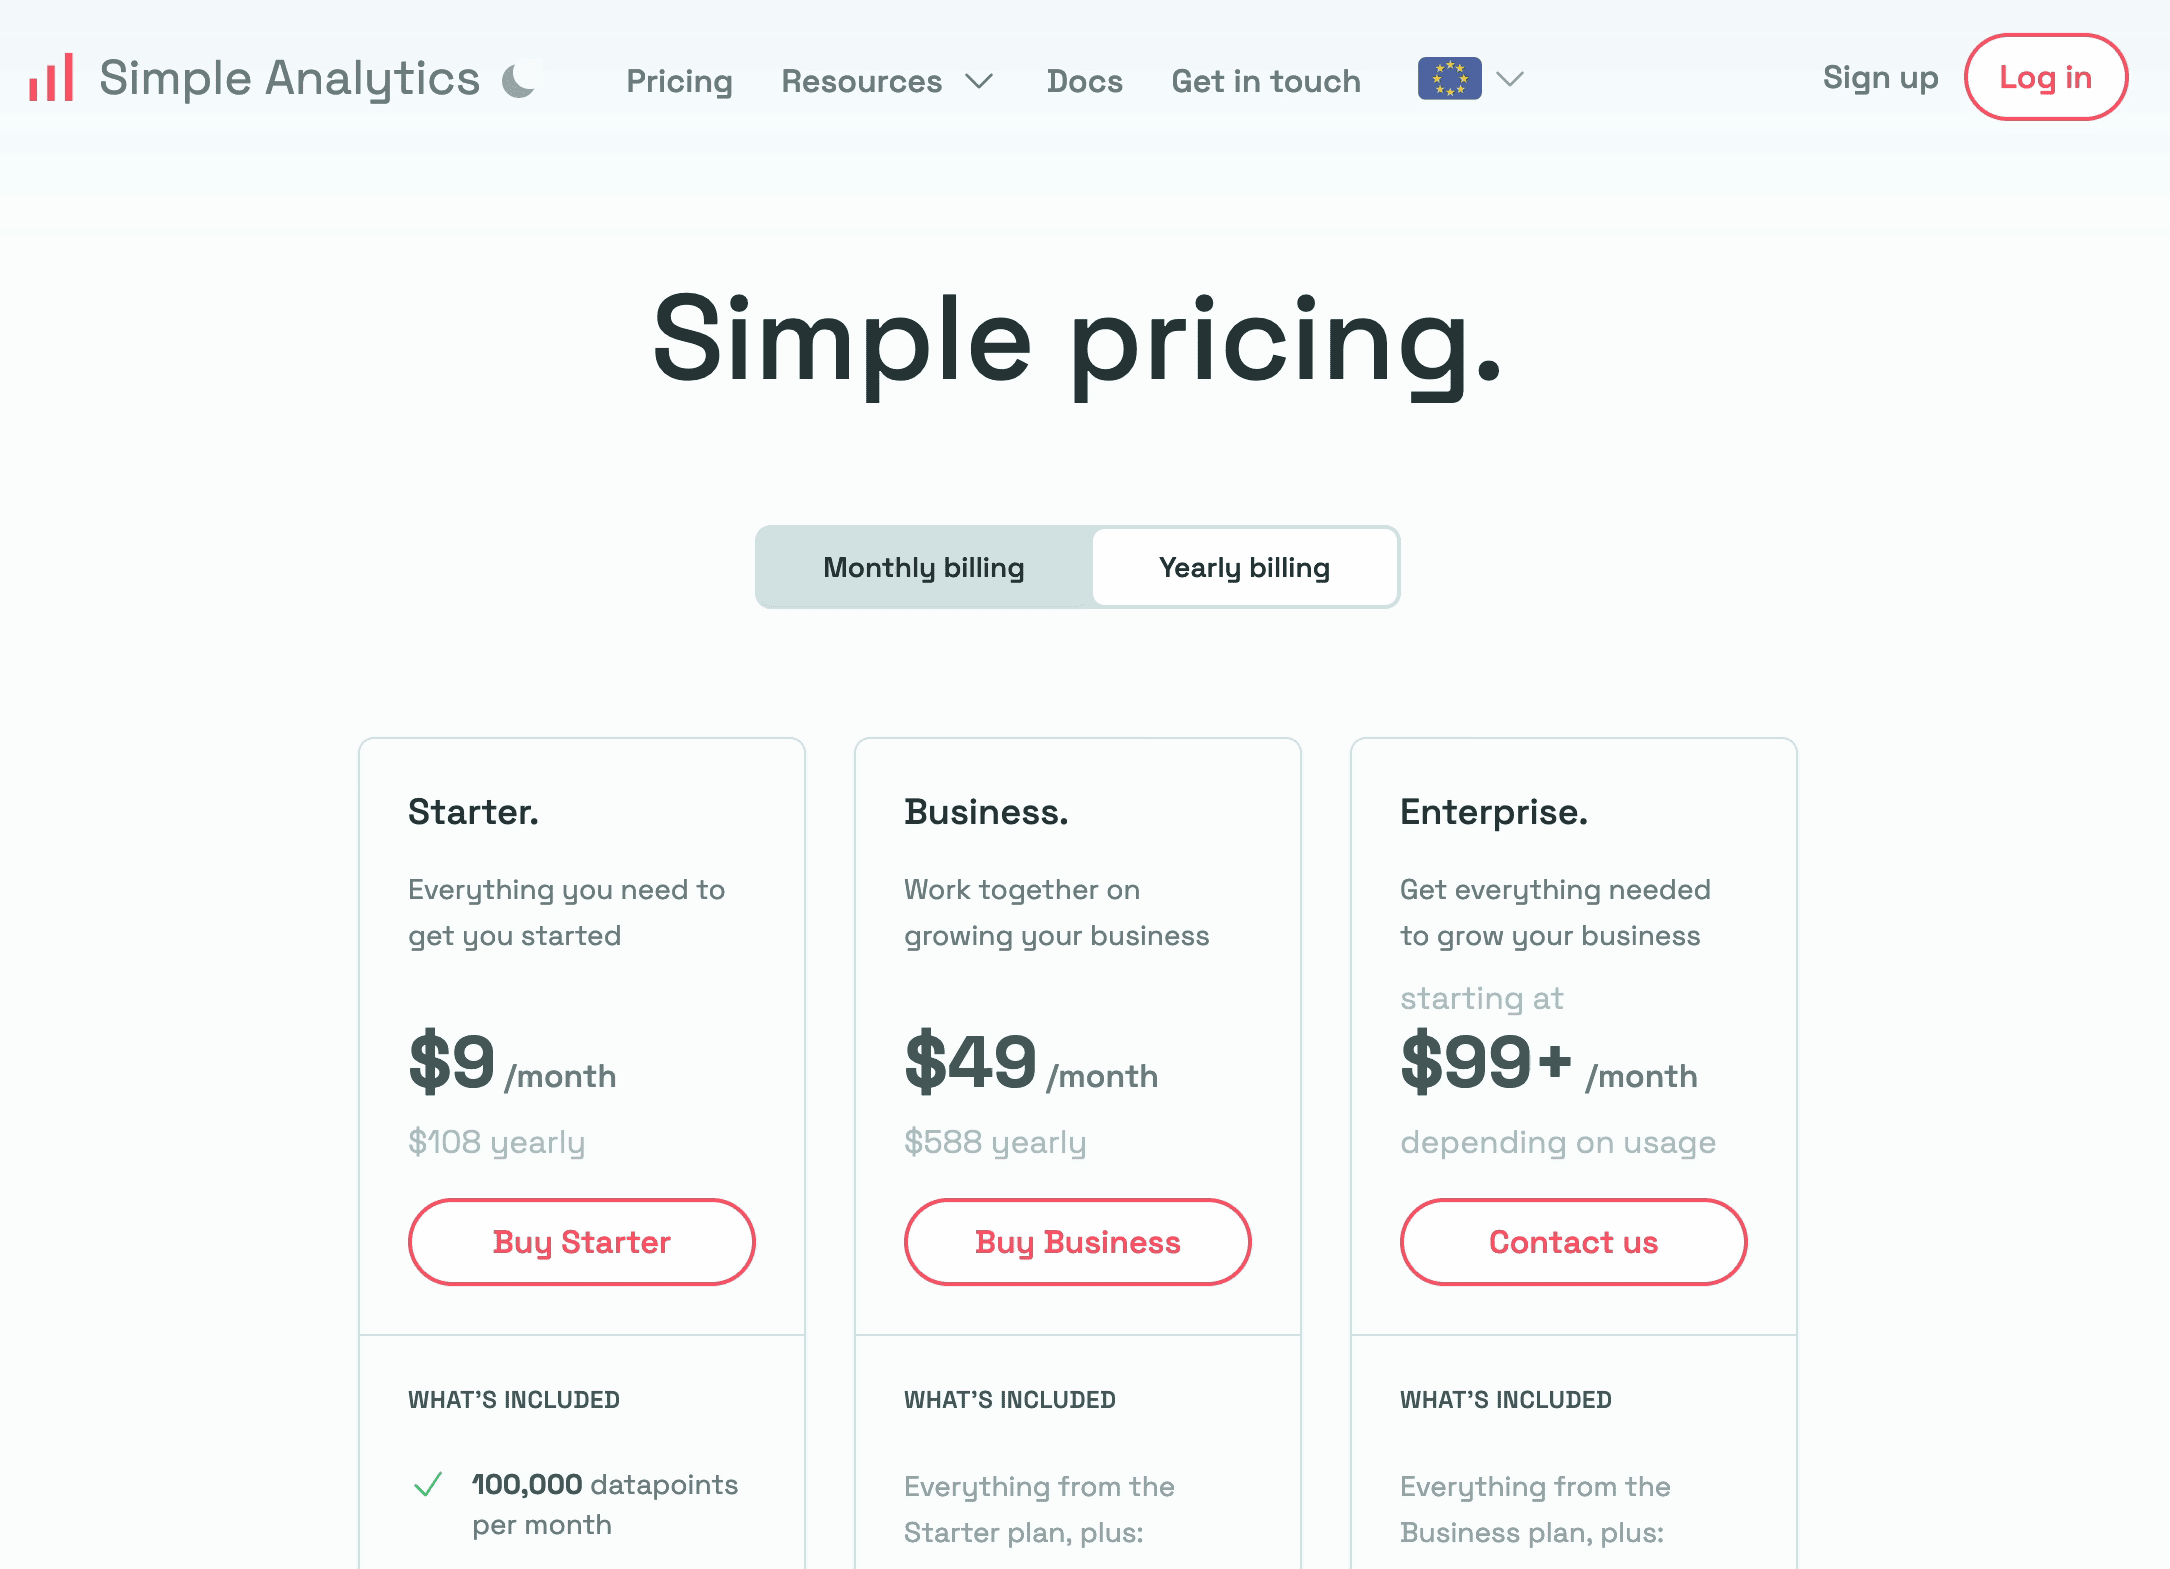
Let's say you want to track which plan a user selects instead of only tracking the “click_buy” event when a visitor clicks that button. Metadata can be used to capture this additional information.
To illustrate this, let's assume you have two signup flows - one for the Starter plan and one for the Business plan. In the image below you can see both have the “onclick” handler pointing to the “click_buy” function, which sends the event to Simple Analytics.
<p>
  <a
    class="button"
    href="signup?plan=starter"
    onclick="clickBuy()"
    >Buy Starter<a
  >
  <a
    class="button"
    href="/signup?plan=business"
    onclick="clickBuy()"
    >Buy Business<a
  >
</p>

<script>
  function clickBuy() {
    if (window.sa_event) {
      window.sa_event("click_buy");
    }
  }
</script>
However, the current configuration doesn't capture whether the user clicked the “Starter” or “Business” button.
To solve this, you can modify the “click_buy” function to include extra information (metadata) for each plan. By adding a metadata attribute to the “click_buy” button in the form of an object, you can pass this additional data to the “sa_event” function.
To add extra information to distinguish between the “starter” plan and the “business” plan, you should add {plan: 'Starter'} for the starter plan and {plan: 'Business'} for the business plan in the brackets after “clickBuy”.
<p>
  <a
    class="button"
    href="signup?plan=starter"
    onclick="clickBuy({plan: 'starter'})"
    >Buy Starter<a
  >
  <a
    class="button"
    href="signup?plan=business"
    onclick="clickBuy({plan: 'business'})"
    >Buy Business<a
  >
</p>
Also, add “metadata” to the script so that the sa_event function sends the metadata to Simple Analytics.
<script>
  function clickBuy(metadata) {
    if (window.sa_event) {
      window.sa_event("click_buy", metadata);
    }
  }
</script>
Your code will look like this:
<p>
  <a
    class="button"
    href="signup?plan=starter"
    onclick="clickBuy({plan: 'starter'})"
    >Buy Starter<a
  >
  <a
    class="button"
    href="/signup?plan=business"
    onclick="clickBuy({plan: 'business'})"
    >Buy Business<a
  >
</p>

<script>
  function clickBuy(metadata) {
    if (window.sa_event) {
      window.sa_event("click_buy", metadata);
    }
  }
</script>
Once the metadata is sent to Simple Analytics, it will be available in the “Event Explorer.”
To summarize, here's the process for using custom events with metadata:
- Add metadata to the “click_buy” function for each plan (e.g., {plan: 'Starter'} and {plan: 'Business'}).
- Modify the existing “sa_event” function in your script to include the metadata.
- Send the metadata to Simple Analytics using the “sa_event” function.
Simple Analytics is a tool that provides you the insights you need without any tracking or collecting personal data. Want to know what that looks like? See our public dashboard here.