
After building your app, you will want to make sure that you optimize user experience- and Google Analytics can be of great help! Here is how you can add GA to your Heroku app, step by step.
Let's dive in!
- Set Up Google Analytics
- Add Google Analytics to Your Application
- Deploy Your Application to Heroku
- Verify the Integration
- Final Thoughts
Before we dig in I want to show you something. I promise it's worth it...
Google Analytics is great, but also complex and a bit clunky. If you just want a straightforward dashboard with the insights you need, GA is not a great place to start. Additionally, Google doesn't care about privacy and GA requires an annoying cookie banner.
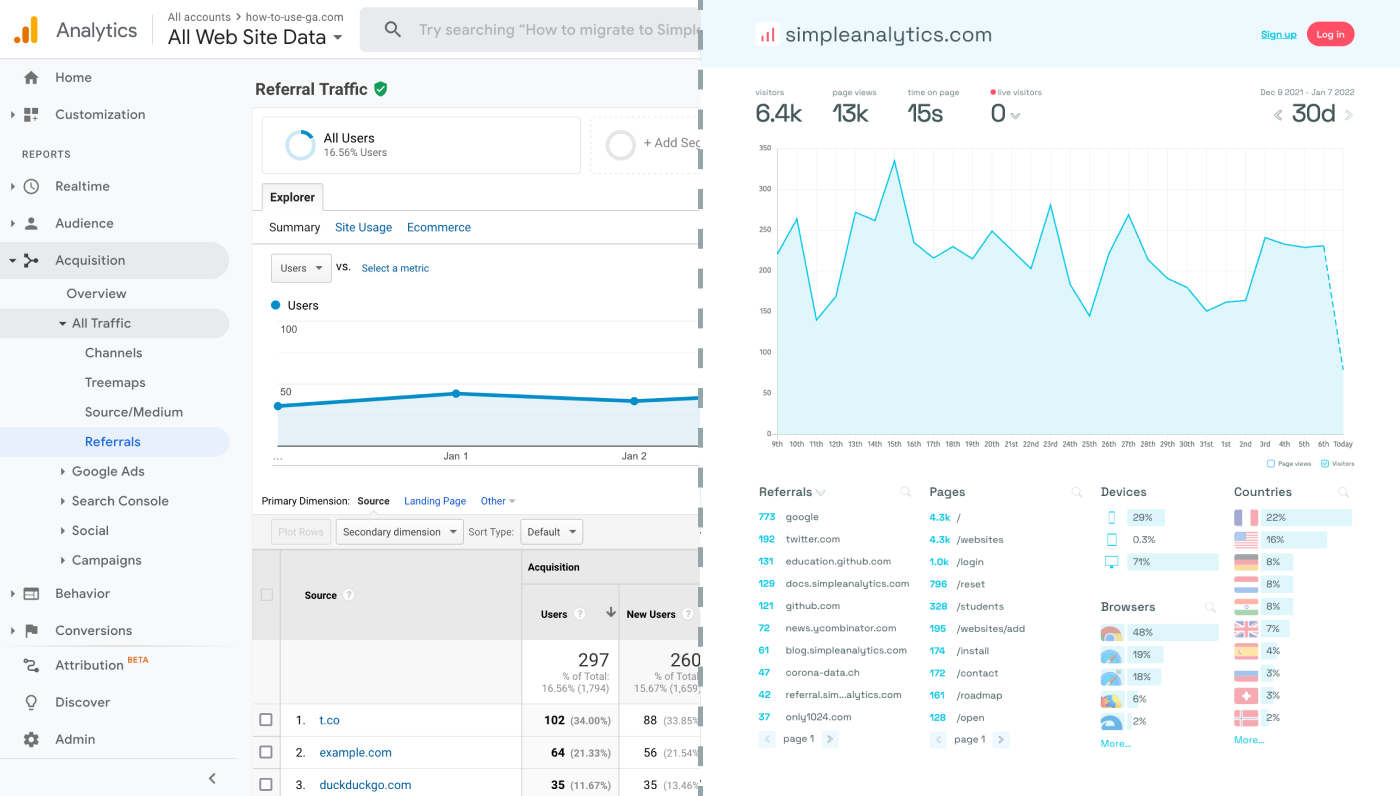
That's why I built Simple Analytics, a privacy-friendly and simple analytics tool - no personal data, no cookies, just the insights you need in a straightforward dashboard.
Here is how it looks vs GA. Feel free to check our live analytics to get an idea for your project. (It is free btw)
All right, enough about us. Now let's get into answering your question!
Set Up Google Analytics
If you haven't already set up a Google Analytics account for your app, you'll need to do that first. Here’s how to get started:
- Create a Google Analytics Account: Visit the Google Analytics website and sign in with your Google account. If you don’t have one, you’ll need to create it.
- Set Up a New Property: Follow the on-screen instructions to create a new GA4 property, selecting "Web" as your platform type.
- Obtain Your Measurement ID: After setting up your property, you will be provided with a Measurement ID (formatted as "G-XXXXXXXXXX"). Note this ID down, as it's necessary for integrating GA with your application.
Add Google Analytics to Your Application
Integrating Google Analytics with a Heroku-hosted application involves adding the GA tracking code to your application's codebase. Here’s how you can do it, depending on your application's framework:
For Web Applications (HTML, JavaScript):
- Locate the GA Tracking Code: In your Google Analytics account, find the JavaScript tracking code snippet provided for your GA4 property.
- Embed the Tracking Code: Paste this GA tracking code snippet into the
<head>tag of every HTML file in your application. If your application uses a common template for the head section, you can add the code there to apply it across all pages.
For Single Page Applications (React, Angular, Vue.js):
Install GA Library: For frameworks like React, Angular, or Vue.js, use the respective Google Analytics library or module for integration (e.g.,
react-gafor React applications).Initialize GA: Import and initialize the Google Analytics module in your application's main component or file, using your Measurement ID.
For example, in a React application using
react-ga:import ReactGA from 'react-ga'; ReactGA.initialize('Your-GA-Measurement-ID'); ReactGA.pageview(window.location.pathname + window.location.search);
Deploy Your Application to Heroku
After integrating Google Analytics into your application:
- Commit Your Changes: Use Git to add and commit the changes to your application's codebase.
- Deploy to Heroku: Push the changes to your Heroku app using Git. If you're using Heroku's GitHub integration, ensure the latest changes are pushed to your GitHub repository, and the deployment process will run automatically.
- (Optional) Create New Properties: Do not re-use the same tracking code to track multiple apps. Create a new GA property for each app instead and use the correspondent tracking code.
Verify the Integration
To ensure Google Analytics is correctly tracking your application:
- Check Realtime Traffic: After deploying your changes and accessing your application, log into your Google Analytics account and navigate to the "Realtime" report to see if your activity is being tracked.
- Troubleshoot if Necessary: If you don't see any data in the Realtime report, double-check your tracking code implementation and deployment process to ensure everything was correctly configured and uploaded.
Final Thoughts
Adding Google Analytics to your app can give you great insights. However, ask yourself: is Google Analytics the right tool for you?
GA is an overpowered solution for straightforward analytics. If you're looking for a simple and intuitive dashboard with the insights you need, there are better alternatives. Yes, I’m talking about my own product (Simple Analytics), but there are others out there as well.
I hated using Google Analytics for my projects. It's clunky, there are hundreds of dashboards and it doesn't look appealing. Also Google doesn't care about privacy or ethics. That's why I decided to build my own and more intuitive web analytics tool.
If this resonates with you, feel free to give Simple Analytics a spin. You just need to add the script to your app and off you go. This takes about one minute- and there is a free version as well!
Enjoy!