
This blog post will guide you through the process of adding Google Analytics to your Landingi pages, ensuring you can leverage powerful insights to enhance your marketing efforts. Let's dive in!
- Set Up Google Analytics
- Integrate Google Analytics with Your Landingi Pages
- Verify the Integration
- Final Thoughts
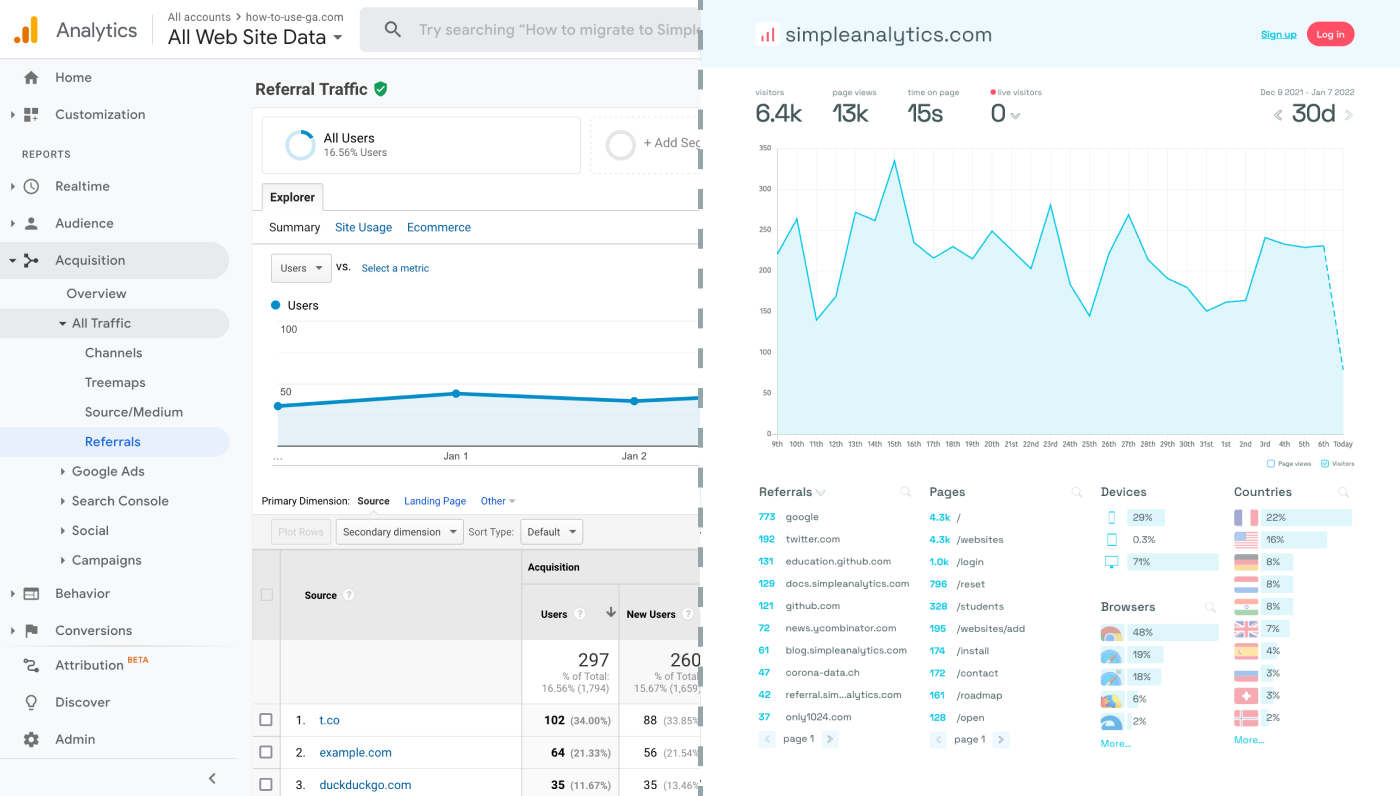
Before we dig in you need to know that Google Analytics is complex and a bit clunky. There are other options that give you the same insights in a slick and straightforward dashboard.
Simple Analytics is one of them. A privacy-friendly and simple analytics tool - just the insights you need in a straightforward dashboard. (And its also free yes).
All right, now let's get into answering your question!
Set Up Google Analytics
First, ensure you have a Google Analytics account set up for your website. If you're new to GA, here's how to get started:
- Create a Google Analytics Account: Visit the Google Analytics website and sign in with your Google account. If you don’t have one, you’ll need to create it.
- Set Up a New Property: Follow the on-screen instructions to create a new GA4 property, selecting "Web" as your platform.
- Obtain Your Tracking Code: inspect your GA property to retrieve your GA tracking code.
Integrate Google Analytics with Your Landingi Pages
Landingi simplifies the process of adding third-party analytics to your landing pages. Here’s how to integrate Google Analytics:
- Log Into Your Landingi Account: Access your Landingi dashboard and select the landing page you wish to track.
- Open Page Settings: Click on the "Settings" icon (usually represented by a gear) next to your selected landing page.
- Navigate to the JavaScript Code Section: Look for a section titled "JavaScript Code" in the settings menu. This section allows you to add custom scripts to your landing page.
- Insert the GA Tracking Code: In a new JavaScript code slot, paste the entire Google Analytics tracking code snippet provided by GA. Ensure you set the placement to "Head" to insert the code in the
<head>section of your landing page HTML. - Save and Publish Your Changes: After adding the tracking code, save your changes and republish your landing page to activate Google Analytics tracking.
- (Optional) Create New Properties: if you want to track pages for different websites, create a different GA property for each page and implement the corresponding tracking code. This allows GA to track websites individually.
Verify the Integration
After integrating Google Analytics with your Landingi page, it's essential to ensure that GA is correctly tracking your site:
- Visit Your Landing Page: Open your landing page in a web browser to generate some initial traffic.
- Check Google Analytics: Log into your Google Analytics account and navigate to the "Realtime" report. If you see your activity being tracked, the integration is successful.
Final Thoughts
Adding Google Analytics to your website can give you great insights. However, ask yourself: is Google Analytics the right tool for you?
GA is an overpowered solution for straightforward analytics. If you're looking for a simple and intuitive dashboard with the insights you need, there are better alternatives.
If this resonates with you, feel free to give Simple Analytics a spin. You just need to add the script to your app and off you go. This takes about one minute- and there is a free version as well!
Enjoy!