
Integrating Google Analytics with an Angular application enables you to gather valuable data about your app's performance. Don't worry if this sounds complicated: our blog will guide you through the steps you need to take.
Let's dive in!
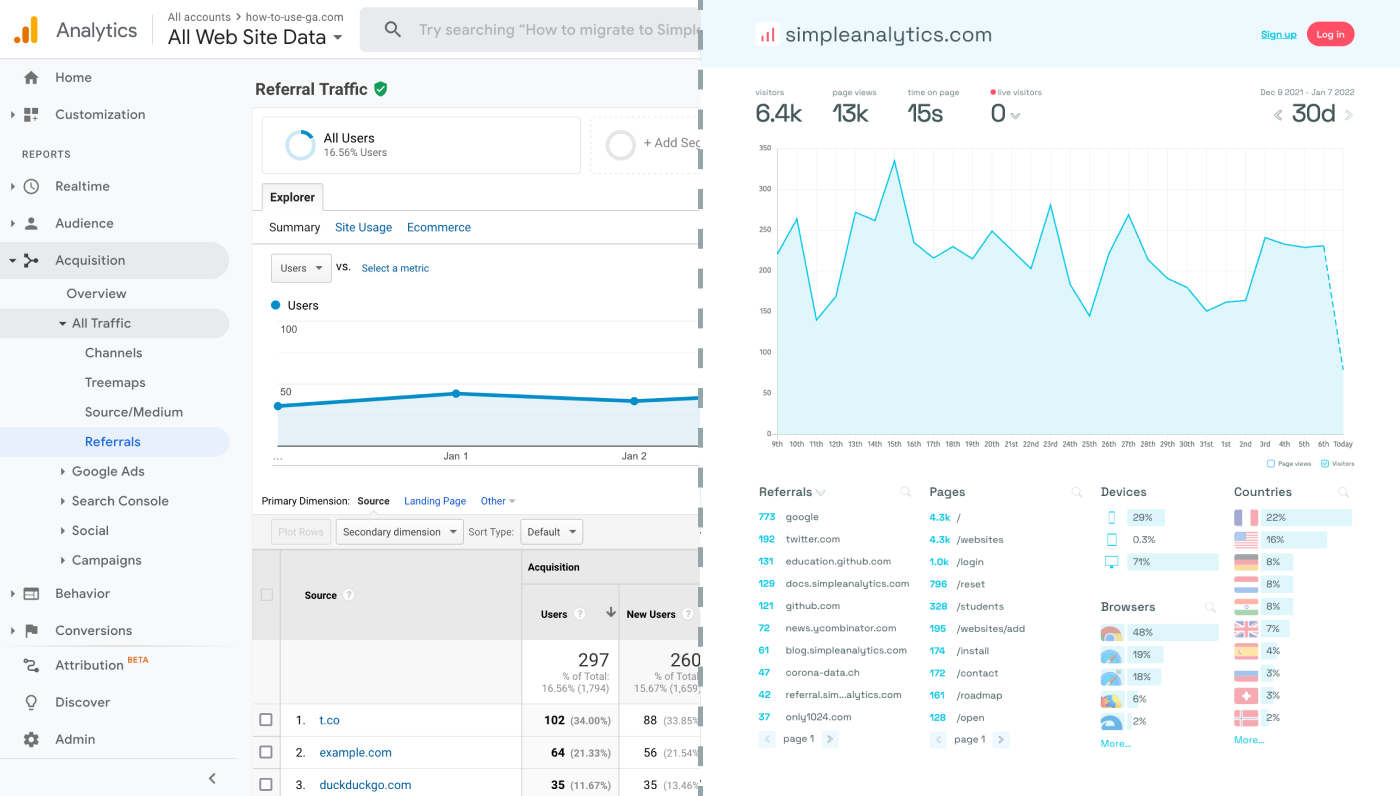
Before we dig in you need to know that Google Analytics is complex and a bit clunky. There are other options that give you the same insights in a slick and straightforward dashboard.
Simple Analytics is one of them. A privacy-friendly and simple analytics tool - just the insights you need in a straightforward dashboard. (And its also free yes).
All right, now let's get into answering your question!
Step-by-step integration
Set Up a Google Analytics Property
If you haven't already, create a GA property. Once set up, you'll receive a "Measurement ID" (like 'G-XXXXXXXXXX').
Install Angular Google Analytics Library
There are several libraries available for integrating GA with Angular, such as angular-gtag. Install it using npm:
npm install angular-gtagConfigure the Angular Module
In your Angular app, import the library in the app.module.ts and add it to the imports array:
import { BrowserModule } from '@angular/platform-browser';
import { NgModule } from '@angular/core';
import { GtagModule } from 'angular-gtag';

import { AppComponent } from './app.component';

@NgModule({
  declarations: [
    AppComponent
  ],
  imports: [
    BrowserModule,
    GtagModule.forRoot({ trackingId: 'YOUR_MEASUREMENT_ID', trackPageviews: true })
  ],
  providers: [],
  bootstrap: [AppComponent]
})
export class AppModule { }
Replace 'YOUR_MEASUREMENT_ID' with your actual GA Measurement ID.
Implement Tracking in Components
You can now use the Gtag service in your components to track page views or specific events:
import { Component } from '@angular/core';
import { Gtag } from 'angular-gtag';

@Component({
  selector: 'app-my-component',
  templateUrl: './my-component.component.html',
  styleUrls: ['./my-component.component.css']
})
export class MyComponent {
  constructor(private gtag: Gtag) {
    this.gtag.event('screen_view', {
      'app_name': 'myApp',
      'screen_name': 'Home'
    });
  }
}
Testing and Deployment
After implementing the tracking code, deploy your application. Use the Google Analytics dashboard to verify that data is being received. You can also use browser extensions like the Google Analytics Debugger for Chrome to debug and verify the tracking.
After Implementation
After adding GA to your Angular project, you may want to identify key user interactions in your app that you wish to track with GA's custom event tracking feature. Also, make sure that you do all you need to stay compliant with applicable laws, including collecting cookies consent for GDPR compliance.
(Optional) Create New Properties
To track multiple apps, create more GA properties and use the corresponding Measurement IDs. This prevents GA from conflating the data.
Final Thoughts
Adding Google Analytics to your Angular project can give you great insights. However, ask yourself: is Google Analytics the right tool for you?
GA is an overpowered solution for straightforward analytics. If you're looking for a simple and intuitive dashboard with the insights you need, there are better alternatives.
If this resonates with you, feel free to give Simple Analytics a spin. You just need to add the script to your app and off you go. This takes about one minute- and there is a free version as well!
Enjoy!